Morning folks,
How is everyone? It seems Winter is fast approaching although it’s a beautiful clear, crisp day here today (albeit a little nippy!)
For those of you that follow me on Instagram or via my Facebook design page, you will know that I’ve been decorating an advent calendar blank that I bought from The Works. Usually, I buy these things and never actually get around to making them but I was determined with this one. My fellow DT’ers at Craft Consortium make the most amazing creations and I felt I had to ‘up my game’ a wee bit.
I tried to remember to take photos as I went through he process as it was quite involved but I’ll be honest, once I get in the creating mindset, I switch off and enter the ‘zone!’
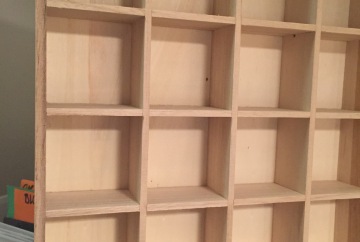
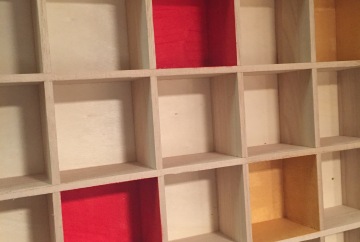
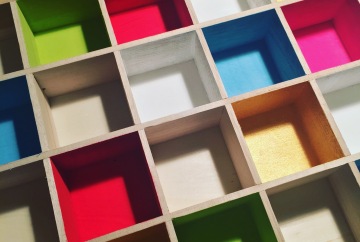
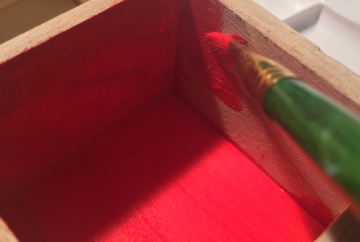
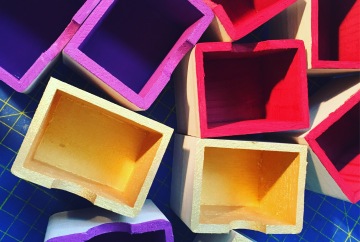
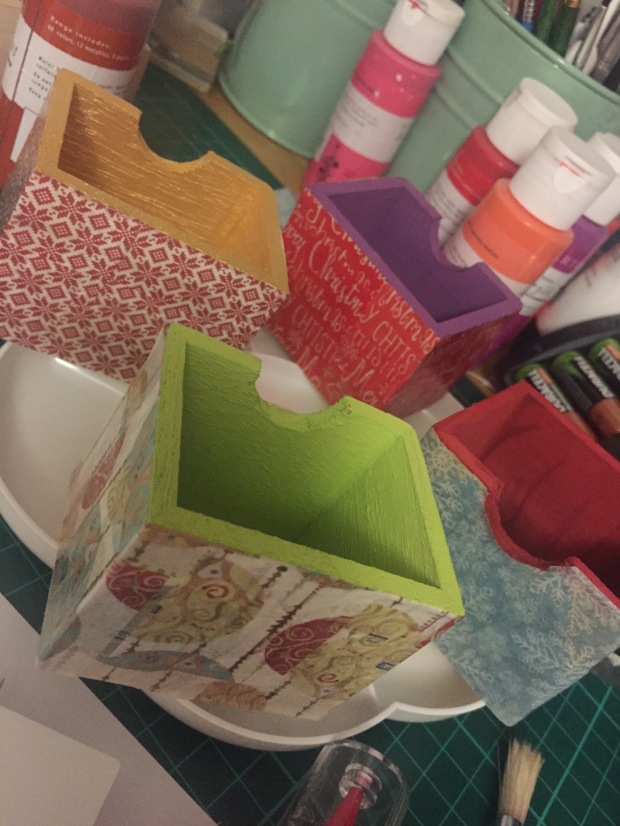
I wanted to create something eclectic, using the Craft Consortium Decoupage Papers as a starting point, attempting to make each ‘door’ as individual as possible. The first step was to paint the insides of the blank and I used brightly coloured acrylics for this.
Once the inserts were painted, I began on the insides of each drawer:
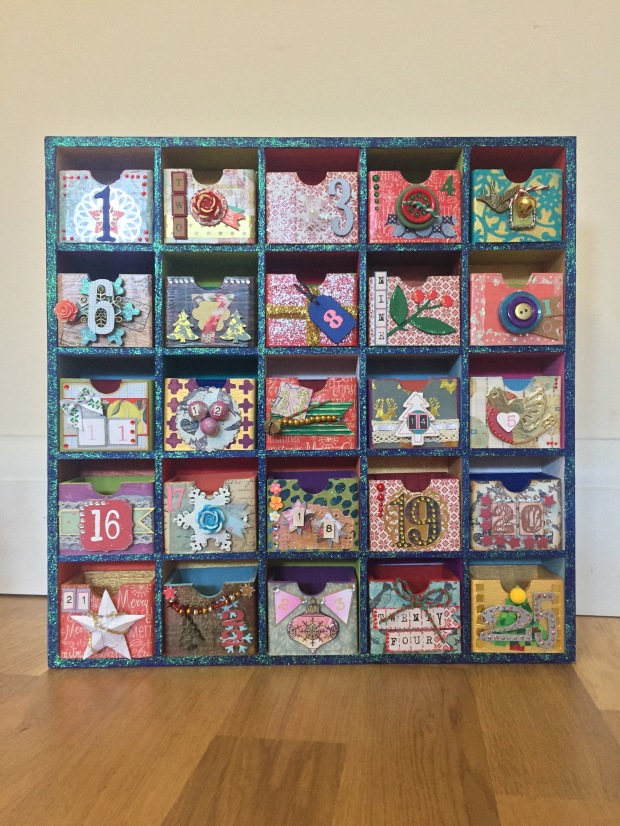
Then the fun of decoupaging each drawer and embellishing each drawer could begin! It was actually a lot more difficult than I first thought to ensure they all had a different look but it was a challenge I enjoyed. I used a mixture of stamps, rub-ons, printed cut-outs and die cuts to create the individual numbers and the embellishments came out of my much under-used Christmas crafting boxes which generally sit there idle.
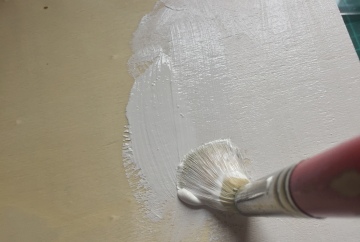
The back and sides were given a coat of white acrylic paint before decoupaging as I wanted the crisp colours to show through.
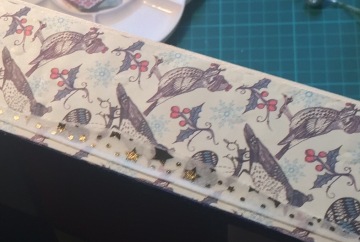
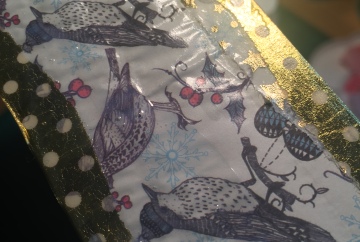
The papers were matted using one sheet so it wouldn’t detract from the pattern. The sides were decoupaged with the utterly gorgeous ‘Christmas Thrush’ paper and the edges given a bit of sparkle with a gold washi tapes that I ripped into lengths to get a distressed look.
To give the decoupaged elements extra protection, I’ve given each one a couple of thin coats of Liquitex “Gloss Varnish’. This dries really quickly and is super easy to use and the papers go back to being super smooth once dried.
The decoupage papers are extremely high quality and not once did they rip or go soggy as I’ve experienced with other makes. Even when the varnish was applied, the colour stayed true and didn’t come away.
It was them a matter of adding all the elements and slotting each drawer into place… ta-dah!
I’m so pleased with the finished make… it’s pretty much as I wanted and I’m looking forward to filling it with little choices for me each day! Haha… no-one else will get a look in!
Hope you love it as much as I do, I look forward to seeing your comments.
Take care everyone… catch up again soon.
H xx

This is fabulous Hev and love how colourful it is
LikeLike
Thanks Katie. As you know, I don’t really enjoy Christmas makes but I really loved creating this x
LikeLike
This looks fabulous Heather.
Hugs
Linda xxx
LikeLike
Thank you Linda. I’m looking forward to filling it up with choc!! x
LikeLike
This is just too beautiful for words! a craft well done indeed!!!!
LikeLike
Aww… thank you Peachnlime 🙂 x
LikeLiked by 1 person
Oh WOW! This is fan-freaking-tastic! I enjoyed reading your post, and I’m so glad you photographed the process. What a treasure!
LikeLike
Thank you Wendy. I’m really glad I took photos too as I usually forget! xx
LikeLiked by 1 person
WOW Heather a lot of love has gone into this project, love it hun xxxx
LikeLike
Thanks Avril. It took a while but I got there! x
LikeLike
Such an awesome project! Love it 🙂 x
LikeLike
Thank you Sarah. I got there in the end 😉 x
LikeLike
Hi this is a stunning Advent calendar I love all the decoration. It is sure to be treasured. Take care. Hugs Jackie
LikeLike
Thank you Jackie. The OH is trying to get me to sell it but I think not! Haha x
LikeLike
Fantastic, eclectic advent. Love it
LikeLike
Thank you Michelle… eclectic was exactly the look I was aiming for! x
LikeLike
I MUST MUST MUST know where you got the drawers and unit?????
I love this piece!
LikeLike
Michele, I’m so sorry I didn’t see your comment before now! It’s been playing hide and seek in my comments box. The basic unit was from The Works and was approx £12 if I remember correctly. You can buy others but I stumbled upon this and liked the dimensions. I’m so glad you like the finished calendar… me too 🙂 xx
LikeLike